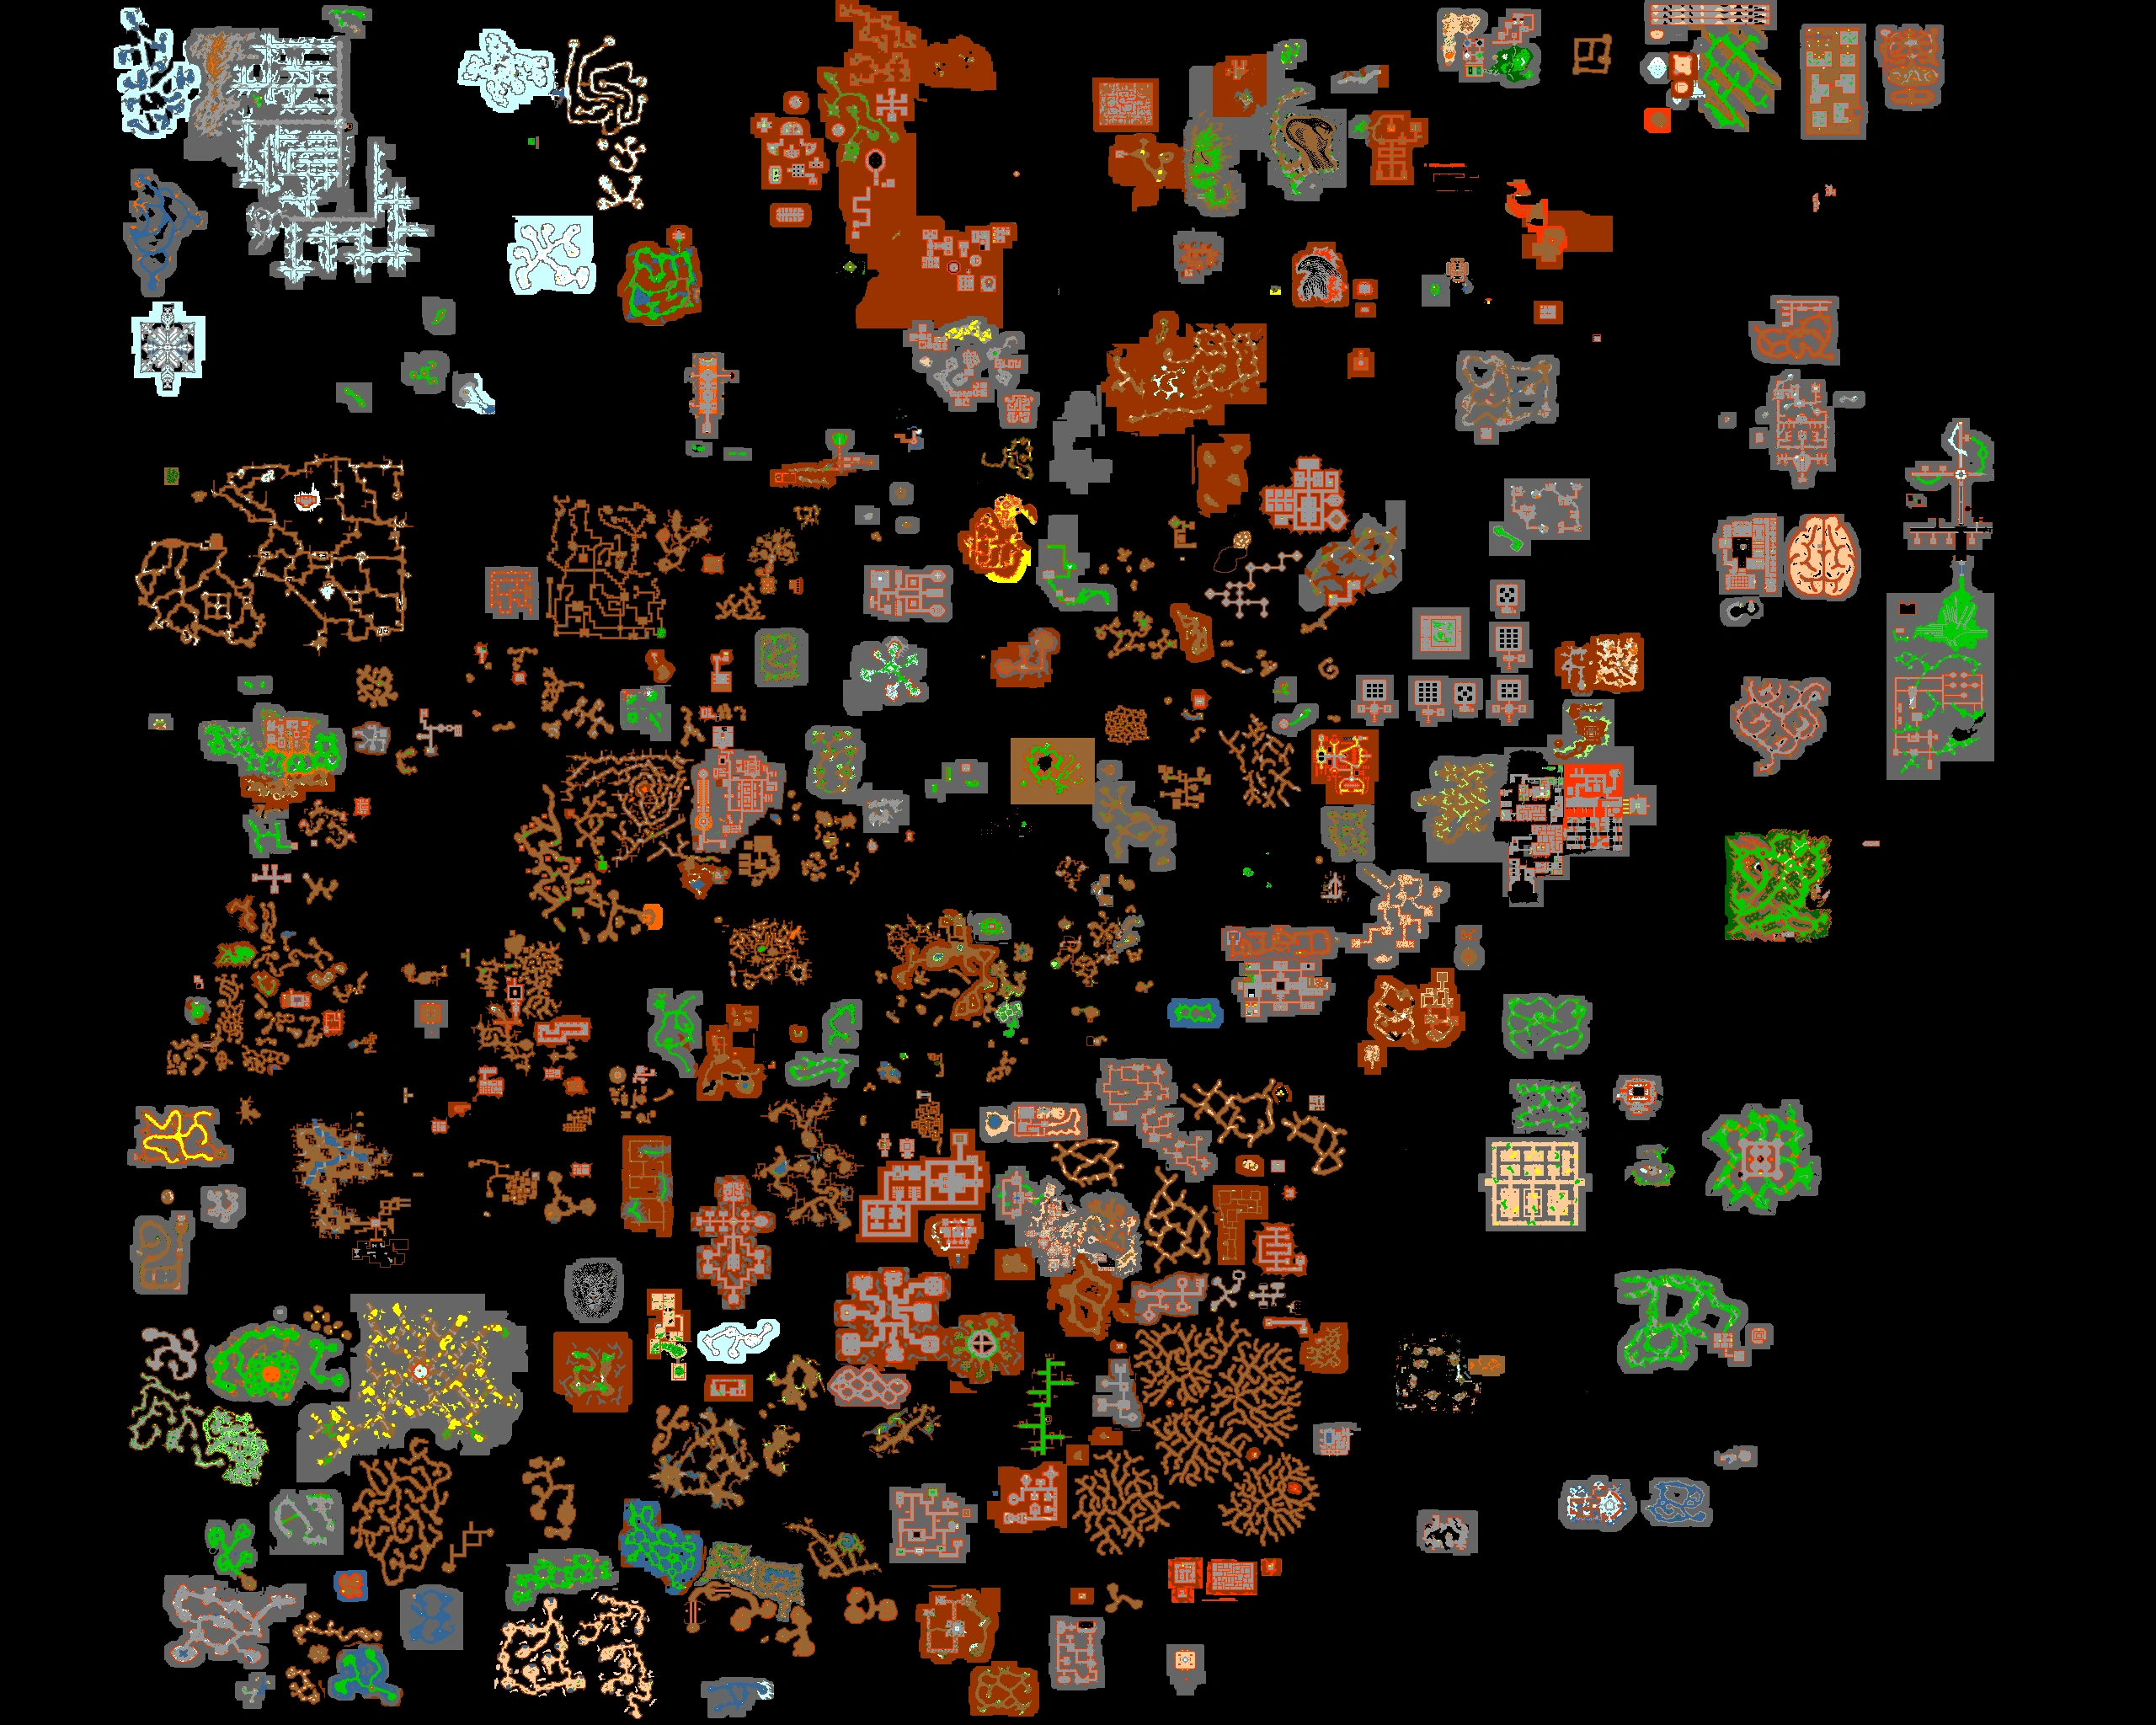
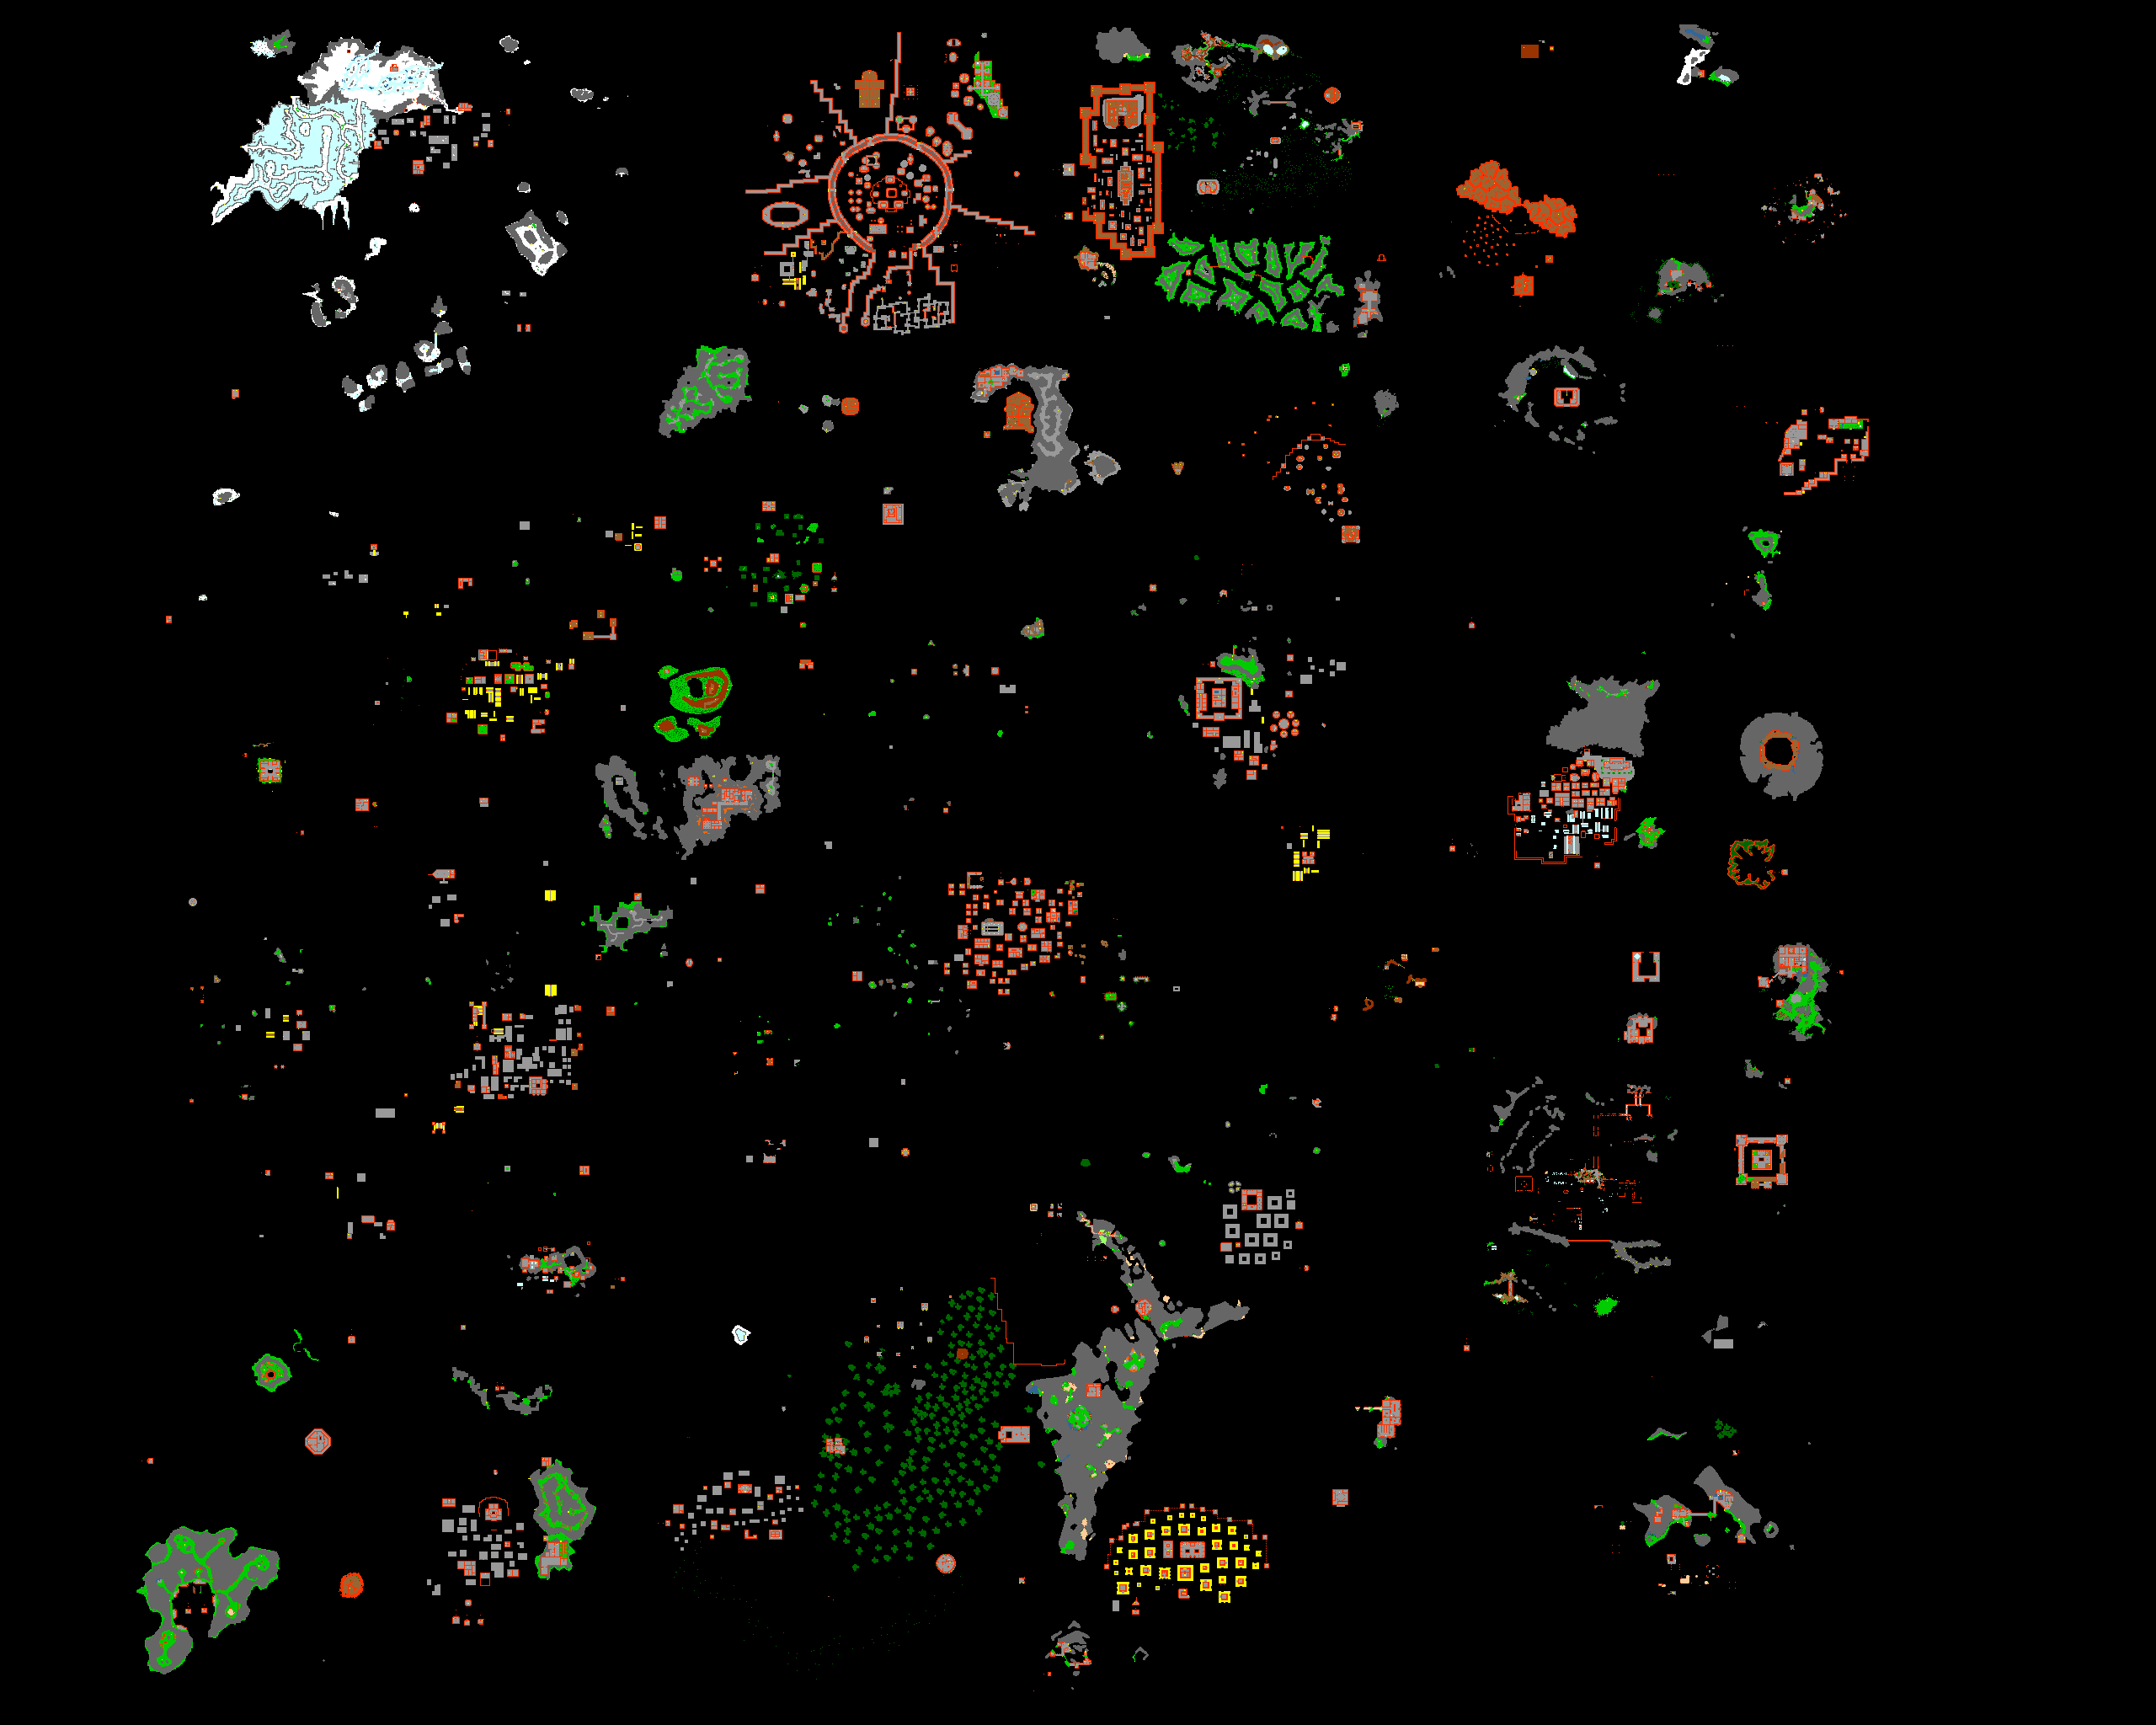
Legend
The citizens of the recently discovered city of Rathleton require assistance in defending their civilization against various threats.
Dangers
Mooh'Tah Warrior, Worm Priestess, Minotaur Hunter, Blood Beast, Minotaur Amazon, Moohtant, Execowtioner, Rustheap Golem, Metal Gargoyle, Glooth Golem, Walker, Glooth Anemone, Devourer, Rot Elemental, Glooth Blob, Glooth Bandit, Glooth Brigand, Humongous Fungus, Hideous Fungus, Warlock, aswell as several other creatures.
Reward
Earn voting points which can be used in the Rathleton Quest within the Rathleton Magistrate.
History
The missions and tasks within the Underground Glooth Factory were introduced after the initial quest, coinciding with the 2014 Winter Update.
Requirements
- Rope, or equivalent (for ?)
- Citizen rank of the Rathleton Quest (for the missions listed below)
The following missions take place in the Underground Glooth Factory and thus cannot be completed without the Citizen rank of the Rathleton Quest:
- Glooth Bandits (mission)
- Nature's Balance (task)
- Mutated Glooth Plague (mission)
- The Gloud Ship (mission)
- Milking Spiders (task, see footnote 1)
- Cooking Gloo (task, see footnote 1)
- Gassing Up
- Glooth Capsules (task)
- Tending Gloothworms (task)
- The Gloud Ship Tasks (task)
Footnotes:
- The Milking Spiders and Cooking Gloo tasks do not require access to the Underground Glooth Factory and are possible on the mission that unlocks them before access is available. However, the final objective of the mission, Gassing Up, requires access to the Underground Glooth Factory. Thus, repeating the task is impossible without the Citizen rank.
Tips
The tasks were supposed to be additional objectives to complete while normally playing the game. However, some players will want to focus on points to use the features that are available to high-ranked citizens. The following tasks are reasonably completable during a hunt:
The following tasks are the fastest to complete for votes:
- Communication Breakdown
- Combinatorics (requires strong coordination)
- The Glooth Brothers / The Ancient Sewers
- Cooking Gloo (requires Citizen rank and The Gloud Ship mission)
The following tasks are kill-tasks and require almost no effort outside of usual hunting:
The following task has limited repeats per day and is impractical for farming:
The following task could be completed to buy your way through voting points assuming the items are available:
- Glooth Capsules (requires Citizen rank and Glooth Bandits mission)
The following tasks are simply not worth the hassle:
Missions
Glooth Bandits
From the second floor of the Glooth Plant, head south-east and turn north-east at the intersection. You will encounter Elbert here. Ask Elbert for a mission and he will ask you to help him investigate the sudden widespread glooth bandit attacks.
Elbert wants you to collect Glooth Capsules which the Glooth Bandits and Glooth Brigands have stolen. You can bring Elbert either Glooth Capsules or Tainted Glooth Capsules; he will only accept the Glooth Capsules but you can progress with the quest if you only have Tainted Glooth Capsules.
He will send you on a mission to find the bandits' hideout, and to find out who is behind the attacks. The hideout is to the south-west of the Glooth Plant. When you arrive, you will find a strange room with 4 statues. Each statue except the east has a description which indicates what you must do to get a reaction from the statue. Furthermore, there is a Dead Explorer to the north with the book paper shown.
You must find a way to bless, adorn, feed, and entertain the statues.
To entertain the west statue, purchase a Lyre and use it near the statue.
- Mysteriously the kingly statue comes to life, smiles slightly and nodds generously. Then it turns back into its lifeless state.
To feed the south statue, go north-east of the Glooth Plant, just outside Georgia Rainbird's laboratory, and search the Heap of Rubbish. You will find a special Dead Rat. Use this on the statue.
- Mysteriously the statue comes to life, bends its head and devours the offered meat. Then it turns back into its lifeless state.
Locations of Dinky Moss Floret
To adorn the east statue, you must create a Dinky Moss Floret Garland. All around the eastern mushroom area you will find Dinky Moss Florets on the mountain walls. Use these to obtain Dinky Moss Florets. When you have 3, use one of the Dinky Moss Florets on another one to create Interwoven Moss Floret. Use a Dinky Moss Floret on the Interwoven Moss Floret to create a Dinky Moss Floret Garland. Finally, use the Dinky Moss Floret Garland on the statue to adorn it.
- Mysteriously the statue comes to life, stretches out its arm and takes the flowers. Then it turns back into its lifeless state.
To bless the north statue, purchase Special Flask (Holy Water) from Henricus in Thais. Purchasing this requires The Inquisition Quest - mission 3 completed. Use the Holy Water on the statue.
- Mysteriously the statue comes to life, nodds generously and spreads its wings. Then it turns back into its lifeless state.
Now that you have animated the 4 statues you may enter the Magic Forcefield in the center. You must find the Warlock, to the far east, kill him and search his Bookcase for the Parchment.
Report back to Elbert. Upon greeting him your mission will be completed.
Mutated Glooth Plague
NPC: Georgia Rainbird.
Ask Georgia Rainbird for a mission.
You must find the items she lists and use them on the Strange Device that she provides in order to create the Glooth Converter.
- 5 Bronze Gear Wheels (loot them)
- 1 Copper Valve (obtain loose ones from pipes)
- 1 Glass Tube (obtain from Elbert)
- 1 Calibrated Indicator Gauge (obtain from the Glooth Bandit Camp, on the west side of the tunnels)
If you lose your Strange Device/Glooth Converter you can obtain a new one by telling Georgia Rainbird that you lost glooth converter.
Use all these items on the Strange Device to create the Glooth Converter.
Now you need a Crimson Crest Mushroom. You can find these around most purple Slime pools, e.g. in the Gloothworm Farm on the north-east part of the tunnels. Use the mushroom to obtain the item.
Now you must go back to Georgia Rainbird's laboratory and use the Crimson Crest Mushroom on her Alchemical Apparatus to obtain the Vial of Mushroom Distillate.
Use Vial of Mushroom Distillate on the Glooth Converter to obtain Filled Glooth Converter.
You now must use the Filled Glooth Converter on 8? purple pools of Slime. You must use it like a fishing rod - aim for the middle of the pool, because the ground borders will block you from using it close to the edge. When you do this the 8th time, the Filled Glooth Converter will break and you will be left with a Strange Device, allowing you to restart the task.
The Gloud Ship
Find Zeronex by going to the harbour and walking around the city wall to find a Ladder (here). Go up the ladders to reach the top and walk a little north.
Talk to Zeronex about the incident and accept the mission with yes. He will send you to Nicholas Cavendish to obtain a Strong Cloth.
Strong Cloth
Go to Nicholas inside Upper Rathleton. He is located above the post office, here; to reach him, you must use the Elevator on the south side of the building. Nicholas will ask you for 20 Pieces of Crocodile Leather in return for secret information. Give him the Crocodile Leather and ask again about the very strong cloth. Nicholas will create Strong Cloth for you if you bring him the material required.
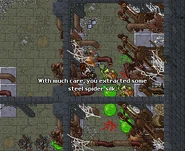
First, Nicholas requires 15 pieces of Steel Spider Silk. To get them, you must find special Spiders which crawl around many Rathleton landmarks. Note that you must find the spiders, not Spider Webs. It is recommended to go to the Glooth Factory (here) as it has a higher spider density, but you can find them in the Rathleton Sewers and possibly other places as well. Use the Milking Fork that Nicholas provided on the Spiders. Note that some "spiders", even around Rathleton, which look similar are actually Something Crawling which cannot be used.
- With much care, you extracted some steel spider silk.
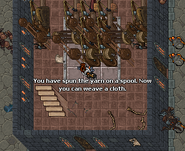
When you have obtained 15 pieces of Steel Spider Silk, you must find a Yarn-Winding Machine and use the Steel Spider Silk on the Yarn-Winding Winch to make a Spool of Steel Silk Yarn. You can find one on the west side of the Workshop Quarter, here.
- You have spun the yarn on a spool. Now you can weave a cloth.
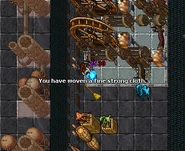
Now go to the room below Zeronex and use your Spool of Steel Silk Yarn with a Weaving Loom to obtain Strong Cloth. The following message will appear:
- You have woven a fine strong cloth.
Bottle of Airtight Gloo
Go back up the ladder and talk to Zeronex. He will take the Strong Cloth from you and instruct you to speak with Yeo about obtaining strong glue, or gloo. Find Yeo by the Rathleton harbour and exchange the 10 Shrimp for a Bottle of Gloo.
(optional?) Now go back to Zeronex and tell him about your mission. You must concoct a Bottle of Airtight Gloo. To do so, go to the Rathleton pharmacy. It is located in the western part of the Rathleton Workshop Quater, west of the stairs (here). On the second floor, open the Bookcase to obtain Glooth Farina. Go up the stairs again and open the northern Bookcases to obtain Pink Gloud Essence and Glooth Vinegar. You may not need all of these items or you may need more of them. If you need more of an item after using the one you obtain, you can open the respective Bookcase to obtain another one.
Now that you have the ingredients, find a Glooth Cauldron. Conveniently, there are a few located just east of the pharmacy (here and upstairs). Use the Bottle of Gloo on a cauldron and a message appears:
- <gloop> <gloop gloop>
Now you must use the Glooth Cauldron until you obtain the Bottle of Airtight Gloo. If you receive one of the following server messages then you must perform something else before continuing to use the cauldron:
The concoction is too thick. Liquefy it with glooth vinegar.
- —Use Glooth Vinegar on the Glooth Cauldron.
The concoction does not stick! Sequester it with glooth farina.
- —Use Glooth Farina on the Glooth Cauldron.
?
- —Use Pink Gloud Essence on the Glooth Cauldron.
You have retrieved some glooth plasma. Maybe you should shake it to see if it settles down?
- —Use Glooth Plasma. A few things can happen:
- The mix decomposes. Try to cook up some gloo at the cauldrons again.
- —You obtain Rubbish and lose the Glooth Plasma. Continue using the Glooth Cauldron.
- Nothing happens. Maybe if you shook it a little more?
- —Nothing happens. You can use the Glooth Plasma again.
If you require more of the three items, you can receive more from the pharmacy after using the ones you took.
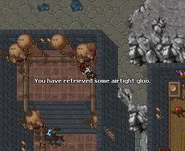
When you are done, you will have received the message:
- You have retrieved some airtight gloo.
Report back to Zeronex about your mission. He will give you an Airtight Cloth to keep, and a Gas Bag for your next mission.
Optional side-mission: Zeronex will give you Airtight Cloth if you ask for it. You can give 6 Airtight Cloths to the NPCs within Rathleton: Yeo, Nicholas, Barazbaz, Alaistar, Fayla and Christine will accept Airtight Cloths. When you hand one in to each of these NPCs, you will receive the achievement Publicity.
Filled Gas Bag
Your next mission is to go to Zeronex's laboratory and fill his Gas Bag. The laboratory in the Underground Glooth Factory. Go to the Underground Glooth Factory by entering the Slime Slide in the building by NPC Terrence who is east of the stairs to Upper Rathleton. Go to the furthest west-southwest of the cave to find Zeronex's laboratory.
When you find Zeronex's laboratory, use the three Glooth Data Machines that are against the walls. You must use the east side of the machines repeatedly until the calibration is complete for that machine. You will receive the following server messages when you're done with that machine, not necessarily in this order:
- +++ 01 REPORT --- CALIBRATION COMPLETE --- VALUES IDEAL +++
- +++ 02 REPORT --- CALIBRATION COMPLETE --- VALUES IDEAL +++
- +++ 03 REPORT --- CALIBRATION COMPLETE --- VALUES IDEAL +++
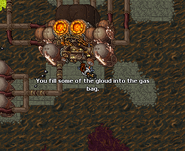
Now you can use the Gas Bag on the Glooth Data Machine in the center of the laboratory. When you do so, your Gas Bag will become a Full Gas Bag and you will receive the following message:
- You fill some of the gloud into the gas bag.
Go back to Zeronex and report about your mission. You can leave the Underground Glooth Factory by entering the Slime Slide near where you appeared on entry.
You will receive 3 voting points for completing this mission and you can now accept 3 daily tasks.
{{Color Box|#ffff3b}} Use Gas Bag on this machine.
Tasks
Combinatorics
You can get this mission from Doubleday, but it is not necessary because the task is automatically started when you kill a monster relating to the task in the Rathleton Sewer.
Go to the Rathleton Sewer and kill monsters in the sequence given by the quest log / server messages. The possible monsters are:
Each time you kill the correct monster, your streak goes up. If you kill the wrong monster, your streak resets to 0. Report to Doubleday hi > combinatorics > yes to report your count. You will be rewarded voting points in the Rathleton Magistrate.
It's recommended to do this with a team who will allow you to kill single monsters for your task. The dynamic spawns within the Rathleton Sewer make it impossible to predict what will spawn where.
Communication Breakdown
Find Doubleday, who is located upstairs in a building in the Rathleton Workshop Quarter, just south of the ladder to Upper Rathleton (here). Ask him for the communications task. Doubleday will mark a Sewer Grate location on your map, where you must go down. Head south-west of Doubleday's building and go under the docks. Use the Sewer Grate (here) which takes you 2 floors down (to here). Be prepared to face Glooth Anemones, Glooth Golems and Devourers here. It's recommended to bring Fire Wall Runes/Fire Bomb Runes to block some spawns from reaching you.
- Note: in order to reach the surface again you must use the ladder in the wall.
In the sewers you must find one of the massive Generators with Strangely Coloured Spumes. There are 3 on the floor you are on; one is to the east (closest), and two are to the north. When you find one, use the Slimy Valve on the south side of the Generator. Coloured steam will appear over your character and orange text will display above the valve, such as "Violet steam emerges...". Use the valves 3 times, recording the color steam that is released. If you use the Slimy Valves too fast then they will become too hot and you must wait a few seconds. You must now use 3 of the Red, Yellow, Green, and Violet levers in the order the steam was released. For example, you might receive the 3 texts when using the Slimy Valve:
- Violet steam emerges...
- Green steam emerges...
- Violet steam emerges...
This would indicate that you must pull the Violet Lever, then the Green Lever and finally the Violet Lever.
If you have difficulty distinguishing colours, you can look at the levers to find out what colors they are, and read the orange text that is displayed above the Slimy Valve. If you forget one of the steam colours you may want to guess violet, as it appears the most often. If you pull a lever that you aren't supposed to, you will fail and be able to repeat by using the Slimy Valve to obtain a new combination. Note that unexpected results occur if you try to pull the levers after only having seen 1-2 of the steam colours and go back to the Slimy Valve for the third. It's highly recommended to use the Slimy Valve 3 times.
When you have used the 3 levers, Strangely Coloured Glooth will appear on the floor north of the 4 levers. Use it to obtain a Vial of Coloured Glooth.
- You fill some of the coloured glooth in a vessel. It seems to affect it, making it fragile. Better carry it somewhere safe.
You must now take the Vial of Coloured Glooth to NPC Doubleday. You must not move the Vial of Coloured Glooth or it will vanish and you will have to try again, by getting a new combination at the Slimy Valve.
Report back to Doubleday by saying hi > communication > yes. You will now have 1 favour with Doubleday which you can exchange for voting rights in the Rathleton Magistrate.
Probing
Ask Doubleday for the probing task. He will give you a Mono Detector and a Strange Probing Device. Do not interact with the Strange Probing Device as it will vanish if you move it within a container. You must find certain abnormal spots within the Rathleton Sewers. The Mono Detector will help you find these abnormal spots; otherwise, you don't need to use the Mono Detector. It seems all possible spots are in the fungi area of the sewers, e.g. here which can be accessed by either entrances (Sewer Grate here, stairs here). Because it involves the very strong Fungi, you may need a team to reach a spot. When you have found an abnormal spot, place the Strange Probing Device from your inventory onto the ground at the abnormal spot and then use it. If you are successful then you will receive a paper in your backpack.
There may be more abnormal spots, so try using the Mono Detector whenever you find strange things in Rathleton sewers.
When you are done, report back to Doubleday by saying hi > probing > yes. You will receive 1 favour point which can be exchanged for 1 voting right in the Rathleton Magistrate. You can repeat this task immediately. If you lose your Mono Detector or your Strange Probing Device, you can receive new ones from Doubleday but you will have to wait an hour after you received the last one. Completing this task enables you to obtain a Necrometer from Jondrin on the Dark Trails Quest; otherwise, he will tell you that you are too inexperienced to use such expensive government equipment.
Rathleton Turnip Party
You can get this mission from Terrence, but this is not necessary as you will start the task automatically when you interact with a Supply Crate.
Pass through the Rathleton Workshop Quarter, where you will encounter Metal Gargoyles and Rustheap Golems, and head east to Oramond Minotaurs. In the main part of Oramond Minotaurs you will face Mooh'Tah Warriors, Worm Priestesses and Minotaur Hunters. Within Oramond Minotaurs there are 2 ramps where you can go; the first and preferred is a little east of the entrance (here), the second is to the south (here). On these mountains you will encounter the same Minotaurs as you already have as well as Minotaur Amazons, Execowtioners and Moohtants.
On these mountains you will find Supply Crates. Use the Supply Crate to obtain a Supply Crate.
- You feel as if being watched. Try to find a water source but don't throw the crate - put it in there gently and secretly.
Do not move the Supply Crate within your inventory or drop it or else it will vanish. Instead, find a local Shallow Water tile and use the Supply Crate on the Shallow Water from a distance. If you're on the preferred mountain in the center you can go down the south-eastern ramp to find a safe place with Shallow Water (here). When you use the Supply Crate on Shallow Water a Floating Crate of Turnips will appear in the water and you will receive the message:
- You gently acquaint the crate with fresh water, destroying the turnip in the process - the feeling of being watched disappears.
You must dump 10 Supply Crates in the water, one by one, to complete your task. When you have obtained your 10th Supply Crate you will be unable to obtain another until you report the task. If you accidentally move the Supply Crate it will disappear and the following message will appear:
- You drop the crate for a split-second - faster than you can even look, moohtants armed with cowtanas retrieve it and vanish.
When you are done, turn your task in to Terrence. For completing this task you will receive 1 voting point in the Rathleton Magistrate.
Taking the Rot Out
Kill a total of 100 Glooth Blob or Rot Elementals. You can report this mission with Jacob or Elliott by saying sewers, things, deal. You can also receive and report the mission to Terrence by saying hi, helping, killing, rot. You will receive one voting right for every 100 you slay, if you kill more than 100 they will count for the next time you take the task. The easiest way to do this is by hunting them in the western parts of lower Rathleton or in the sewers.
The Glooth Brothers / The Ancient Sewers
You can take this mission from either of the Glooth brothers: Jacob or Elliott. You will need to repair 20 Broken Generators or Broken Sewer Pipes, by simply using them. If you repair more than 20 before reporting back, they will count for the next time you take the task. This task will earn you 1 voting point for the Rathleton Quest. The repairs are needed all through the sewers but certain spots are better than others for this task. Look for generators and pipes that have dark smoke coming out of it, these are the ones needing repairing. You repair them just by using (rightclicking) them. If you're successful at repairing a pipe, the following message will display: "<clong!> <clang!> There. This piece is fixed." If you're successful at repairing a generator, this message will show: "<clong!> <clang!> <clong!> <clang!> <scrit scrit scrit> This should do it." It takes 2 minutes for a pipe or generator to become broken again.
The Powder of the Stars
The job is to find 15 Pollens of Peppermoon Bells flower and deliver them to Barnabas. They can be found on the second and third floor of a cave, north-west of Rathleton (walk from Chavis to the north-west, it's near the coast). This cave is filled with Hydras and Bog Raiders. Simply use the Peppermoon Bells plant, it will give you a Blue Pollen every time. Sometimes it will make you dizzy (drunk for a few seconds).
To Take Roots
You can receive this mission from Chavis in the Rathleton Poorhouse (here), but it is not necessary as you can start the task by interacting with a Juicy Root. This task is recommendable because you can complete tasks in bulk, that is, you can report about your mission when it suits you.
Chavis is collecting Juicy Roots for the beggars of Rathleton. He will accept 5 bundles of Juicy Roots and award players with a voting right in the Rathleton Magistrate for bringing each 5 bundles. You can find Juicy Roots in three general areas: in the Southern Plains, the Western Plains and Oramond Minotaurs (east). They look like dried out trees. When you use a Juicy Root you will receive the following messages indicating whether you were successful or not:
- You successfully harvest some juicy roots.
- —Success, obtained Juicy Roots
- Your harvesting attempt destroyed more of the juicy roots than you could salvage.
- —Fail, nothing happens.
In either case, the Juicy Root will become a Harvested Root which will regrow after about 5 minutes.
Go back to Chavis and tell him you brought food. He will take all Juicy Roots that you have and give you the corresponding points. If you have lost some Juicy Roots he will take however many you have and give you points for the total that you have harvested, even if you have none, as what really matters is that you harvested them. Because of this, you cannot turn in bundles of Juicy Roots unless you have harvested them yourself. That is, another player cannot help you by giving you Juicy Roots.
You can retake this mission anytime by saying food again, or by interacting with a Juicy Root again.
Sabotage
You can get this task from Terrence, but this is not necessary as you will start the task when you interact with the Nozzle for Cowcoa.
Go to the Oramond Minotaurs and head east upon entry to find a ramp. Go up the ramp and up another ramp to the south. South of the ramp you will find a Mill with a Nozzle for Cowcoa south of it. Use the Nozzle for Cowcoa to obtain a Cup of Cowcoa, which expires in 3 minutes. You can obtain more Cups of Cowcoa as long as you don't carry one, i.e. you may drop your first to obtain a second and you can obtain another if the ones you carry expire.
- A nice fresh cup of cowcoa.
Go back to the surface and find one of the 4 Mootant Armor Racks[subject to change] and use the Cup of Cowcoa on it. It will become a Mootant Armor Rack[subject to change].
- The acrid cowcoa reacts with the armor. Whatever it was made of, it is no more.
The Cup of Cowcoa you used will disappear but, if you are timely, you can use another Cup of Cowcoa (if you collected several) on a different Mootant Armor Rack. If you fail to destroy the Mootant Armor Rack before the Cup of Cowcoa expires you will receive the message:
- The acrid cowcoa has actually corroded its way out of the vessel.
Repeat this until you have destroyed 10 Mootant Armor Racks. Report to Terrence about your sabotage mission and you will receive 1 voting right in the Rathleton Magistrate. If you attempt to destroy another before reporting about your mission, you will fail and receive the message:
- You already sabotaged a fair amount of minotaur gear. Any more and they will grow suspicious. Return to a city official.
The Minor Taurs
Receive the task from Terrence by saying: hi, killing, minor. You need to kill a total of 100 of Minotaur Hunters, Mooh'tah Warriors or Worm Priestesses.
The Name Of The Beast
Recieve the task from Terrence by saying: hi, killing, blood. You need to kill a total of 100 Blood Beasts.
Dr. Merlay's Misery
Recieve this task from Roswitha by saying: hi, buy (or pint). It will start a short quest line where you'll be contacting a missing scientist. Get a Pint of Glooth by asking her. Go north and down a sewer hole. Walk around the wall north, past Elliott, and go down the next hole. Walk east then north and down the farthest ramp, then a bit north. Here use the sewer cover to be teleported down a floor. A wall of metal statues blocks your way. Drink the Pint of Glooth by using it on yourself and walk through the gates. Talk to the scientist, Dr Merlay (looks like a Massive Earth Elemental). He will instruct you to hand out letters to some of the citizens of Rathleton: Maro, Alaistar, Fyodor, Emily, Azalea. Follow the instructions from these citizens and report back to Dr Merlay and you will receive 1 voting point.
Nature's Balance
Ask Drystan Wildweed for a mission. He wants you to kill a combined total of 200 Glooth Bandits and Glooth Brigands. You can do this in conjunction with Glooth Bandits/Glooth Capsules.
Glooth Capsules
This is an extension of the Glooth Bandits and Mutated Glooth Plague missions. You can hand in 10 Glooth Capsules at any time to Elbert by saying hi > yes[subject to change]. Do note that the mission "Glooth bandits" needs to be completed before he accepts the capsules. However, one thing that isn't covered in that mission is the ability to convert Tainted Glooth Capsules into Glooth Capsules.
You can loot both Glooth Capsules and Tainted Glooth Capsules from Glooth Bandits and Glooth Brigands. Elbert will only accept Glooth Capsules, but if you remove the taint from the Tainted Glooth Capsule he will also accept those. If you have 10 Glooth Capsules, you can give them to Elbert.
If you have 10 Tainted Glooth Capsules, you will need to convert them first. You will need a Glooth Converter. Do the Mutated Glooth Plague mission up until you obtain the Glooth Converter, and then use Crimson Crest Mushrooms on the Alchemical Apparatus in Georgia Rainbird's laboratory. Now use the Vial of Mushroom Distillate on the Glooth Converter and use the Filled Glooth Converter on the Tainted Glooth Capsule. Unlike during the Mutated Glooth Plague mission, the Filled Glooth Converter will not break when you convert the Tainted Glooth Capsules, thus it's a good idea to keep a Filled Glooth Converter stored in your depot to convert all your capsules.
Tending Gloothworms
NPC: Wesley.
Talk to Wesley in the Gloothworm Farm and ask him for a mission. He will tell you to get the reading off the machine north-east of him. Go north-east and you should find a large machine. Use the right side of the machine to get the report.
Go back to Wesley about the report. Wesley will now tell you what your task is. You can complete 3 tasks every day and the tasks are assigned randomly.
Calibrating the Irrigation Funnels
Your task is to calibrate the irrigation funnels. North-east of Wesley where you found the machine, go inside the fence and use all 8 of the Irrigation Funnels.
Report back to Wesley.
Feeding the Worms
Your task is to feed the gloothworms. Go south-east from Wesley, down the hole and up the hole to the south. On this floor you will find a lot of Edible Rock Fungi. Use the Hoe on them to obtain some Fungus Powder. Go back to Wesley and head north-east. Enter the gloothworm farm and use the Fungus Powder on the Small Gloothworm Tubes. Do this 5 times before reporting back to Wesley.
Rake Away
There is too much excremental floss in the gloothworm tubes. You must use a Rake (provided by Wesley) to rake up the excremental floss.
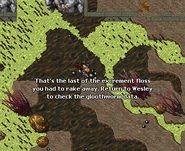
Go north-east from Wesley into the Gloothworm Farm and use the Rake on 10 Small Gloothworm Tubes (description: They emit some kind of floss.). On raking the 10th you will receive the message indicating such:
- That's the last of the excrement floss you had to rake away. Return to Wesley to check the gloothworm data.
Go back to Wesley and report to him. Note that you must return his Rake; he will inform you that if you lost it you will need to buy a replacement (Maro is the local equipment seller).
The Gloud Ship Tasks
Milking Spiders
Ask Zeronex for the harvesting task. He wants you to obtain 20 Steel Spider Silk samples by milking Spiders. He will give you a Milking Fork.
Cooking Gloo
Ask Zeronex for the concocting task. He wants you to create a Bottle of Airtight Gloo. He will give you a Bottle of Gloo and an Airtight Cloth.
Go to the pharmacy on the west side of Rathleton Workshop Quarter, open the Bookcases on the 2nd and 3rd floors to obtain the 3 ingredients (Glooth Farina, Pink Gloud Essence, Glooth Vinegar). Now go into the building east of the pharmacy and use the Bottle of Gloo on the Glooth Cauldron. Use the Glooth Cauldron repeatedly and follow the prompts until you obtain a Bottle of Airtight Gloo. Take this back to Zeronex and report about your concocting task.
Notes:
- Unlike the corresponding mission, he will give you the Bottle of Gloo - no need to exchange 10 Shrimp for it.
- Receiving the task will reset your quest flags for obtaining the ingredients - even if you didn't use the ingredients last time you can obtain an additional 3 (1 of each). Obtaining them each run will avoid unnecessary trips to the pharmacy when later concoctions require more than one of the same ingredient.
- This task yields 1 voting point and there doesn't seem to be any limit on the amount of tasks done.
Gassing Up
Ask Zeronex for the retrieving task. Zeronex will give you a Gas Bag. Go to the Underground Glooth Factory and head to the far west-southwest to Zeronex's laboratory. Use the 3 machines in the north, west, and north-west of his laboratory until each of them are calibrated, as indicated by the server message. When they are all calibrated, use the Gas Bag on the center machine to fill it up. Now go back to Zeronex and report about your retrieving task.
Transcripts
Missions
The Gloud Ship
|
Player: hi |
|||
|
Player: hi |
|||
|
Player: hi |
|||
|
Player: hi |
|||
|
Player: hi |
|||
|
Player: hi |
|||
|
Player: hi |
|||
Mutated Glooth Plague
|
Georgia Rainbird: Greetings. You don't have to shout, my ears are very good! Besides I'm quite {busy}, as you may see. |
|||
Obtaining the Glass Tube:
- (Elbert's greeting depends on the state of another quest.)
|
Player: hi |
|||
Tasks
Combinatorics
Receive The Task|
Player: Hello |
|||
Communications Breakdown
Receive the task|
Player: Hello |
|||
Report the task
|
Player: Hello |
|||
Probing
Receive the task
|
Player: Hello |
|||
|
Player: Hello |
|||
Getting new detector or device
|
Player: Hello |
|||
Exchanging Votes
|
Player: Hello |
|||
Nature's Balance
Obtaining the task:
|
Player: hi |
|||
Glooth Bandits
|
Elbert: Greetings. Excuse me but I don't have the time for useless conversation. I have a lot of work and unfortunately also some {trouble} here. |
|||
Reporting the first mission:
|
Player: hi |
|||
If you talk to him prematurely (task not done):
|
Player: hi |
|||
If you have completed the objective:
|
Player: hi |
|||
Tending Gloothworms
Calibrating the Irrigation Funnels
|
Player: hi |
|||
|
Player: hi |
|||
Reporting the mission:
|
Player: hi |
|||
Feeding the Worms
|
Player: hi |
|||
|
Wesley: Ah, hello! Well, what is your {report}? |
|||
Rake Away
|
Player: hi |
|||
Machine:
- --- ALERT--- 0001110010110011001 --- ALERT ---
|
Player: hi |
|||
If you have no rake:
|
Player: report |
|||
If it's not your last mission for the day:
|
Player: report |
|||
If it's your last mission for the day:
|
Player: report |
|||


